

Read more after the jump!
This surprisingly simple DIY took on several manifestations before becoming what you see above. And best part is...it is super inexpensive! Each "floot" should cost around a buck or two to make. Only thing is you are going to be buying much more than you need for one. So if you can find what you need at home- even better.
What you will need:
- Black Duck Tape
- Back Hockey Tape (Matte)
- Utility Wire (Medium gauge from the dollar store)
- Stick-on Velcro
You will also need scissors and wire cutters.
First measure around your speedlite head. This (plus one inch for the velcro to overlap) will be the length needed for your "floot". The width is completely up to you dependent on narrow you want your light spread to be (wider = narrower). I arbitrarily chose 4".
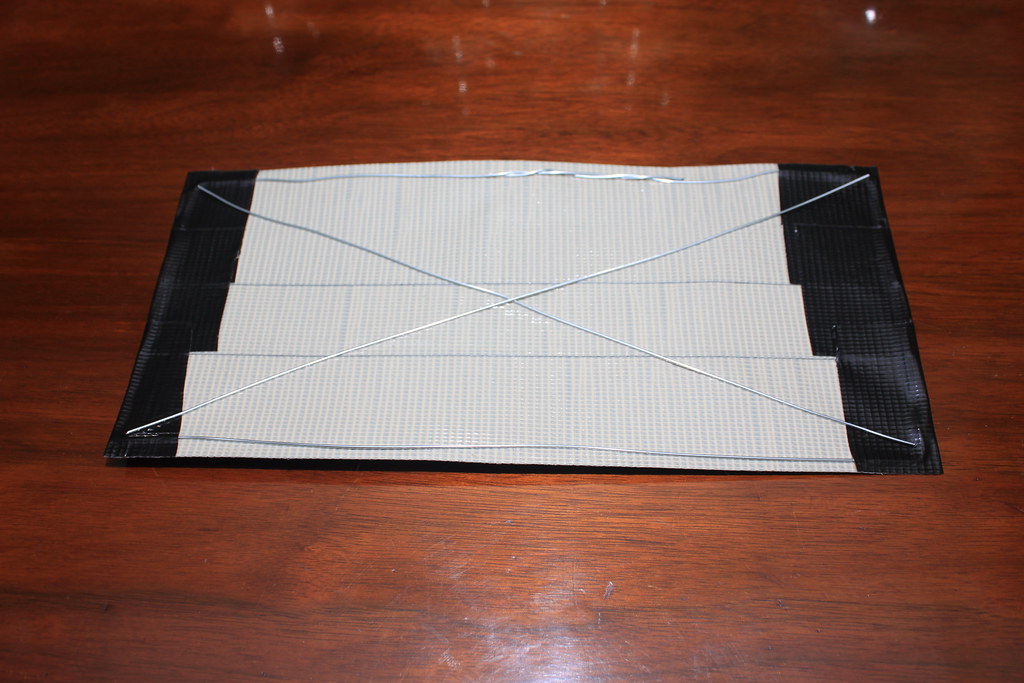
Now make a rectangle slightly smaller than the rectangle formed with the length and width you determined above. Be sure to cut the wire leaving about an inch overlap. Where the wires overlap twist them together to close the rectangle. You should end up with something that looks like this:

Next start laying layers of black duck tape that is slightly longer (by about an inch) and slightly wider (by about 1/8"). This does not need to be neat, just make sure the two length-wide sides are reasonable as this will be the edge of your "floot". This should look like this:

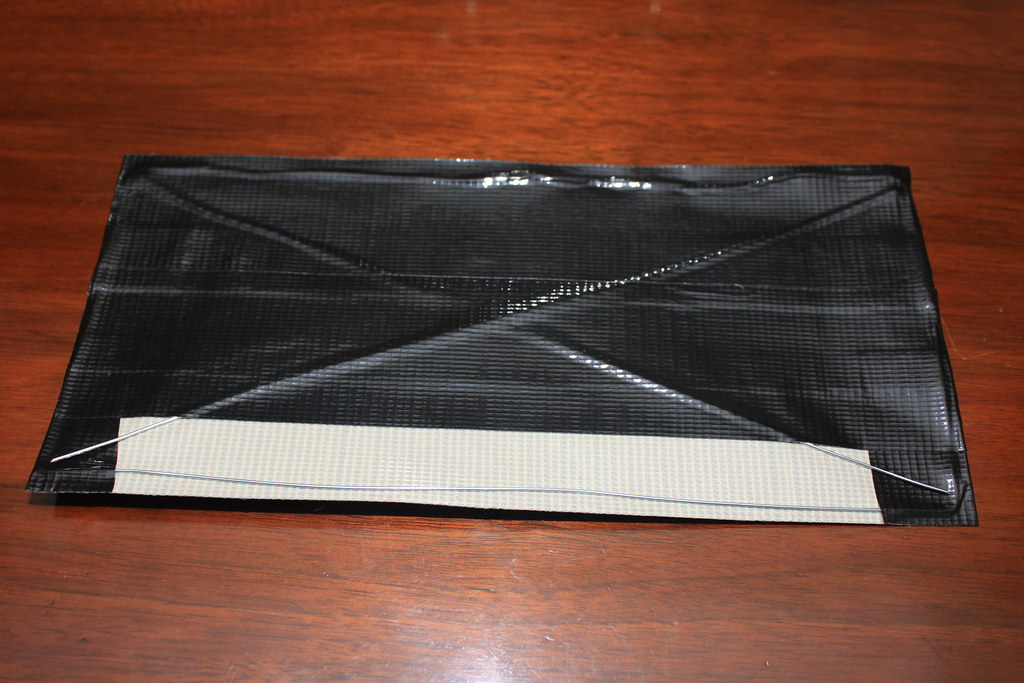
Now fold in the excess on the ends. This will be the final shape your "floot" will take.

Next cut two lengths of wire to go diagonally from corner to corner across your "floot". This "X" shape will add strength and rigidity to your "floot". It should look something like this:
To close in all the wire use black duck tape over the side you see above. The duck tape is strong and the wire should not rip the tape when you manipulate your "floot" (a problem with previous models). In progress it should look like this:
Because the black duck tape is shiny I opted to cover the side facing inwards (for the snoot) or towards the flash (for the flag) with matte black hockey tape. This absorbed light very well compared to the shiny duck tape. In progress it looks like this:
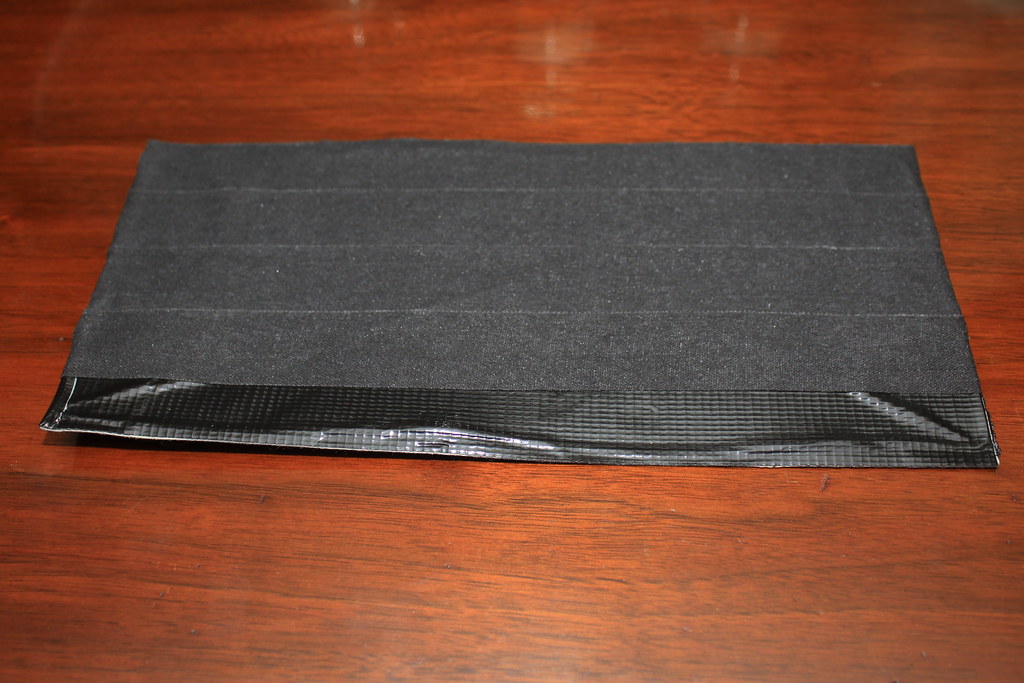
You can see the difference the hockey tape makes already.
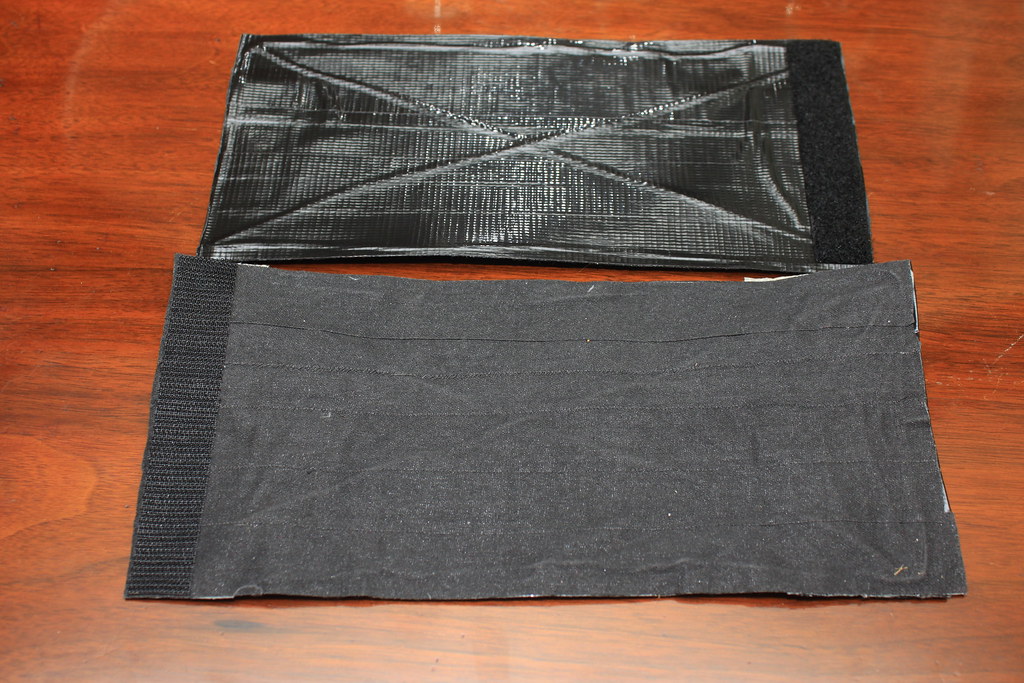
Lastly I added velcro to the "floot" The way I have my flashes set up is with the "soft" side or "loop" side out all the way around the flash. With this in mind the opposite "rough" or "hook" side sticky velcro was placed on one end of the hockey tape side of the "floot". The "soft" or "Loop" side of the sticky velcro was placed on the opposite end on the duck take side of the "floot". It should look like this:
There you have it! You have already completed your very own "floot"! Now make more!
For those of you that are still unconvinced here are some test shots.
Flag:
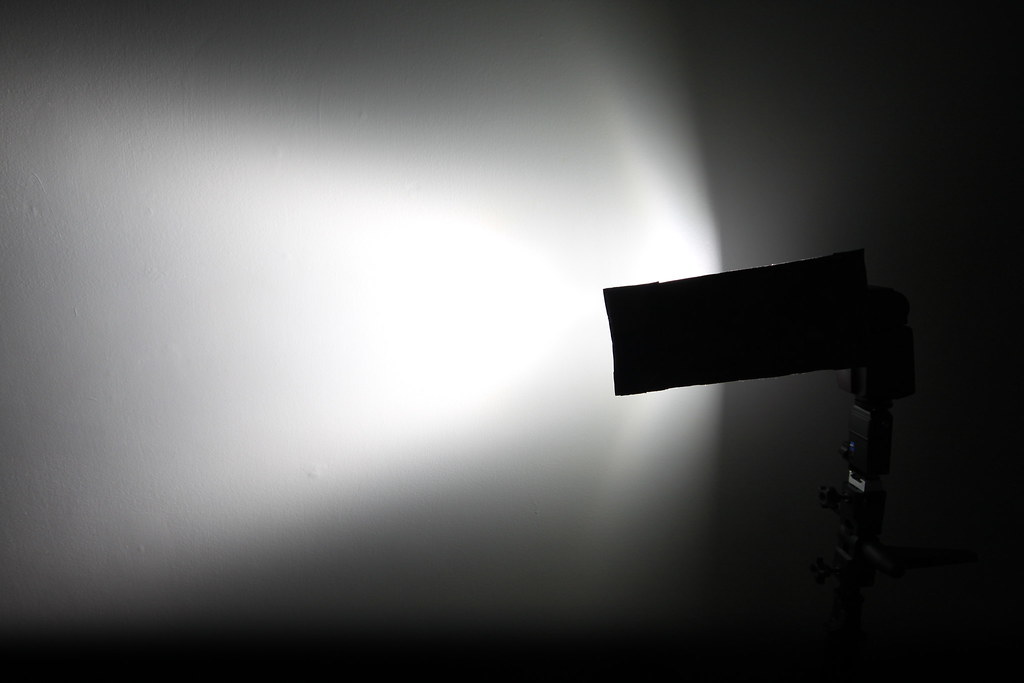
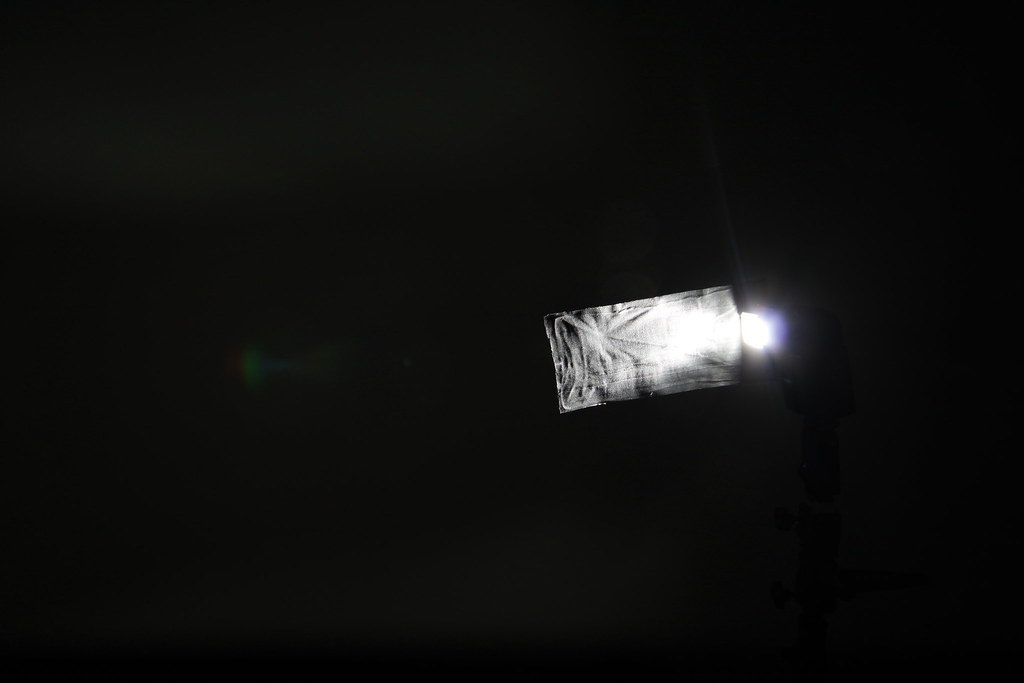
And, snoot:
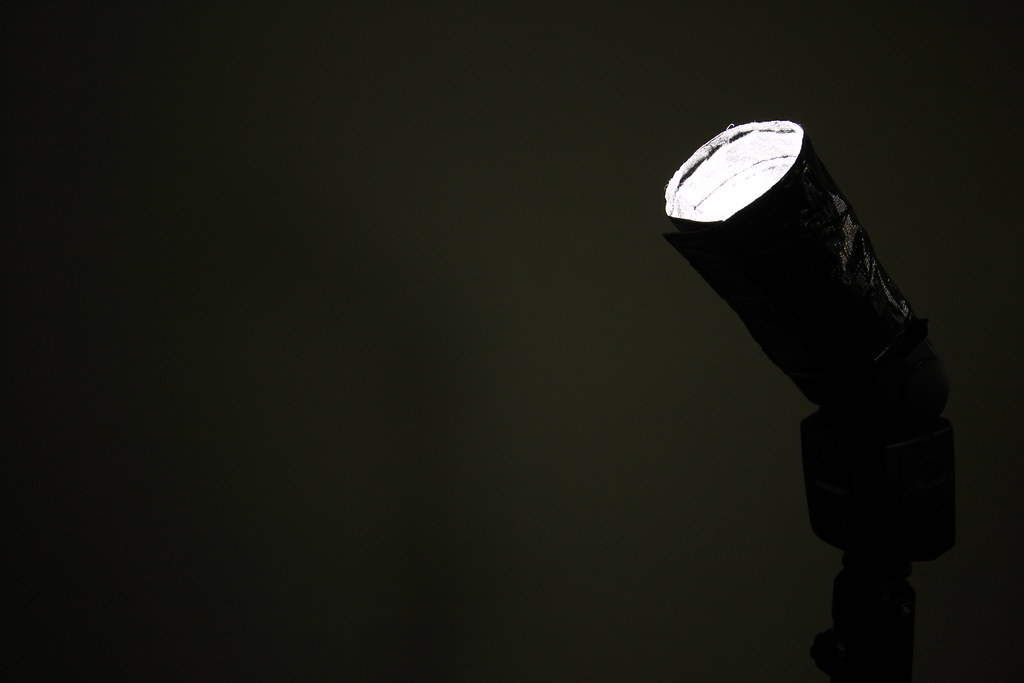
Here is a demo so you can see the difference the snoot gives to the spread of light.
No snoot:
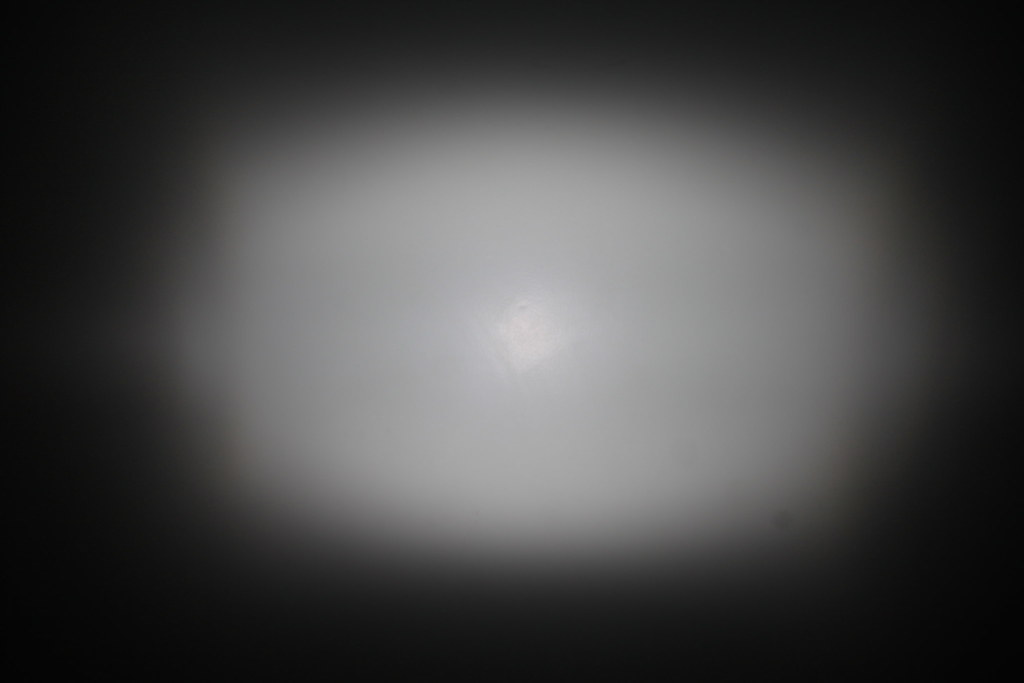
And with a snoot:
So, what are you waiting for? A $2 "floot"? How can you say no? Go out, make one yourself and get creative with your (off camera) flash photography!
No comments:
Post a Comment