

Read more after the jump!
The total cost of the dish was less than $10, including the extra materials to make more dishes or for other DIY projects. What you will need:
- Bowl/Dish (I picked up a plastic serving bowl from the local dollar store - Dollarama)
- Plastic vegetable keeper (Also from Dollarama)
- 1/8" Threaded rod (I used this because it was the only stainless steel 1/8" I could find. I would have preferred to use 3x 1/8" bolts, but this worked)
- 12x 1/8" nuts (or 9 if you can find 1/8" bolts)
- Velcro
- Black paint and primer (I had these already from some house work)
Tools I used:
- Dremel with Super Duty Cutting blade and 1/8" drill bit.
- Paint Brushes
This is the bowl I picked up at the dollar store:
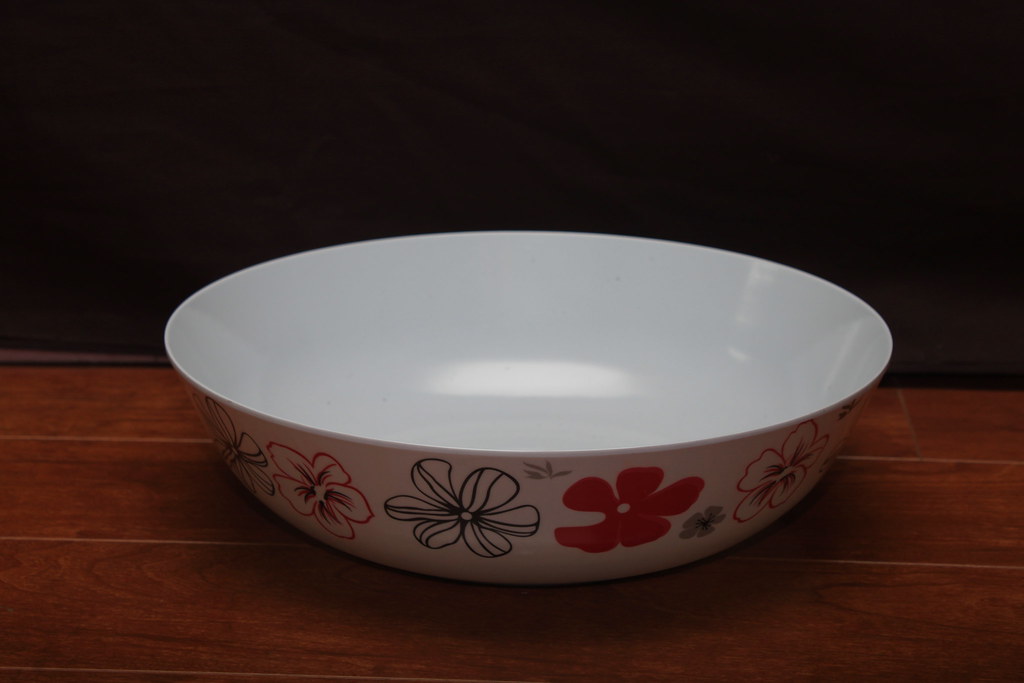
The bowl is plastic and is very lightweight. I had to pick which bowl to purchase very carefully as many had a strong blue hue to them - which would have colour cast light very badly.
First I traced the outline of the flashgun onto the bottom of the bowl where the flash will enter the beauty dish. I cut this outline out of the plastic bowl with the dremel (drill bit), then drilled two holes into the bottom of the bowl below the flashgun hole and one above. With these pieces cut out it looked like this:

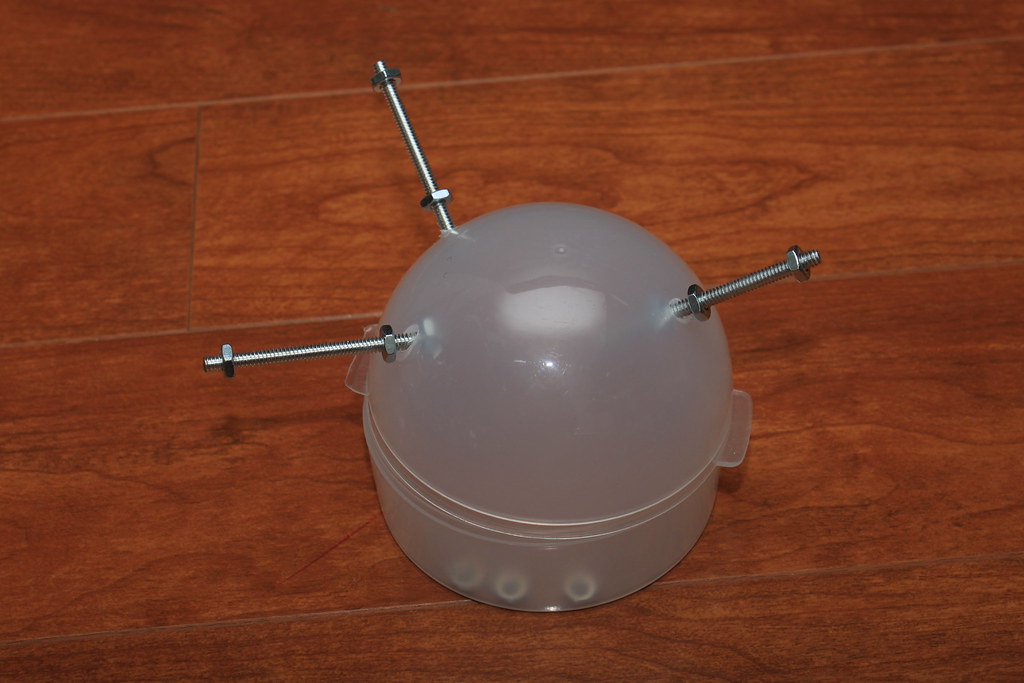
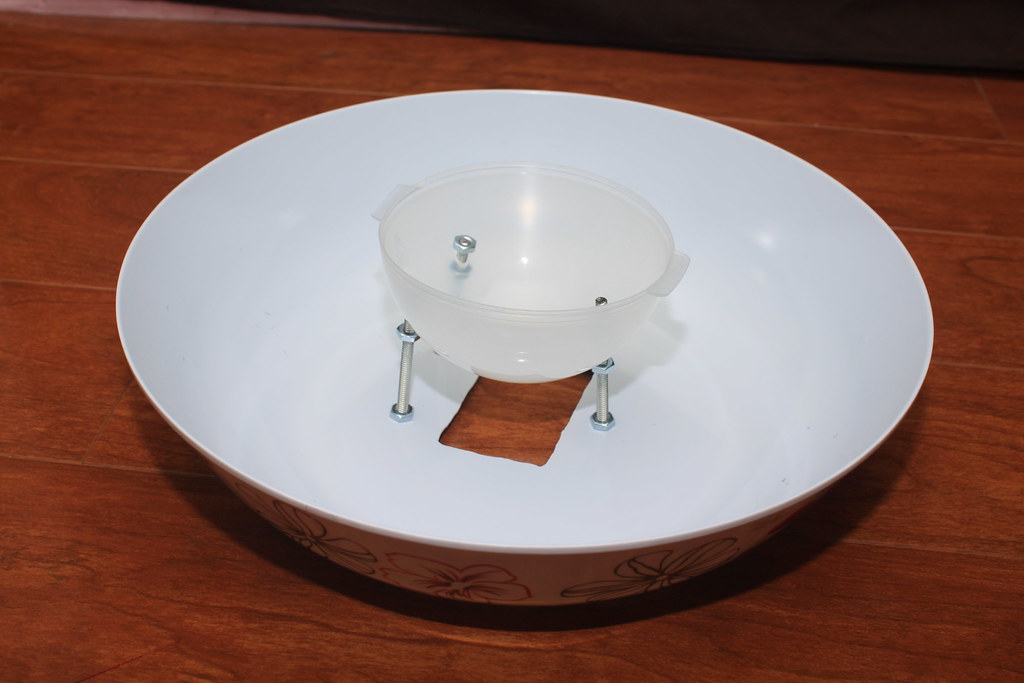
Next the threaded 1/8" rod was cut into 3 X 4" pieces with the super duty cutting blade (be sure to wear some eye protection here). One rod piece was inserted into each of the three holes drilled in the bowl and fixed in place with the two 1/8" nuts - one outside the bowl, and one inside the bowl. The top portion of the vegetable keeper - the semi-sphere - was placed onto the threaded rods opening-up. The locations where the rods contacted the vegetable keeper were marked and holes for the rod to pass through were drilled. Two nuts were used to fix each of the three bolts to the dome. I had completed the dome before making this post so I removed the dome of the vegetable keeper to show how the rods fit. The rods appear to protrude at an angle but the holes drilled for them are at an angle that allows the rods to position straight down into the holes in the dome.

The final product (before painting):

Velcro strips were added to the back of the beauty dish for mounting on a speedlite. This dish is light enough that it can be mounted directly to the flash. I have seen other DIY beauty dishes that are mounted with "L" brackets or softbox brackets as well, which are required due to the weight of the dish. I would recommended painting the dish (if you intend to) before applying the velcro!
The final product mounted and on a light stand looks like this:

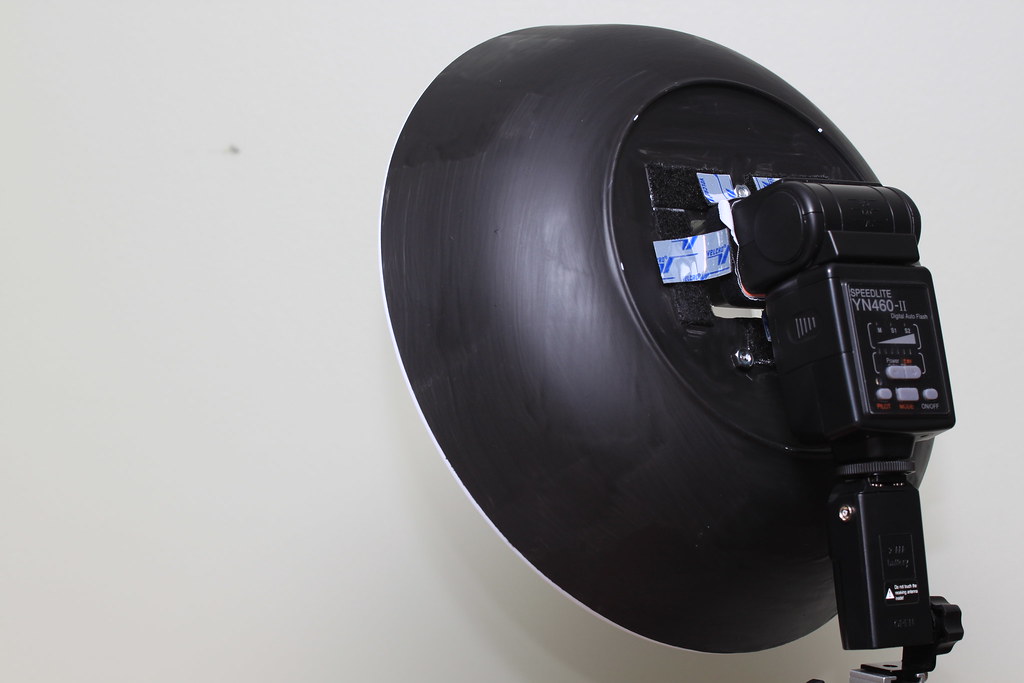
As you can see, the beauty dish is mounted onto the speedlite with small tabs of velcro. Around the speedlite is a velcro organization strap (over an elastic band to keep the velcro secure). The beautydish is painted black to give a hint of professionalism. The initial test shoot (Through the Forest) that I posted about Thursday was done before the dish was painted. Some awkward looks at a flower-covered bowl will hopefully be dispelled with a little black paint (works better if you sand, prime, then paint).
The light quality is quite good. Very soft with nice fall-off at the edges:
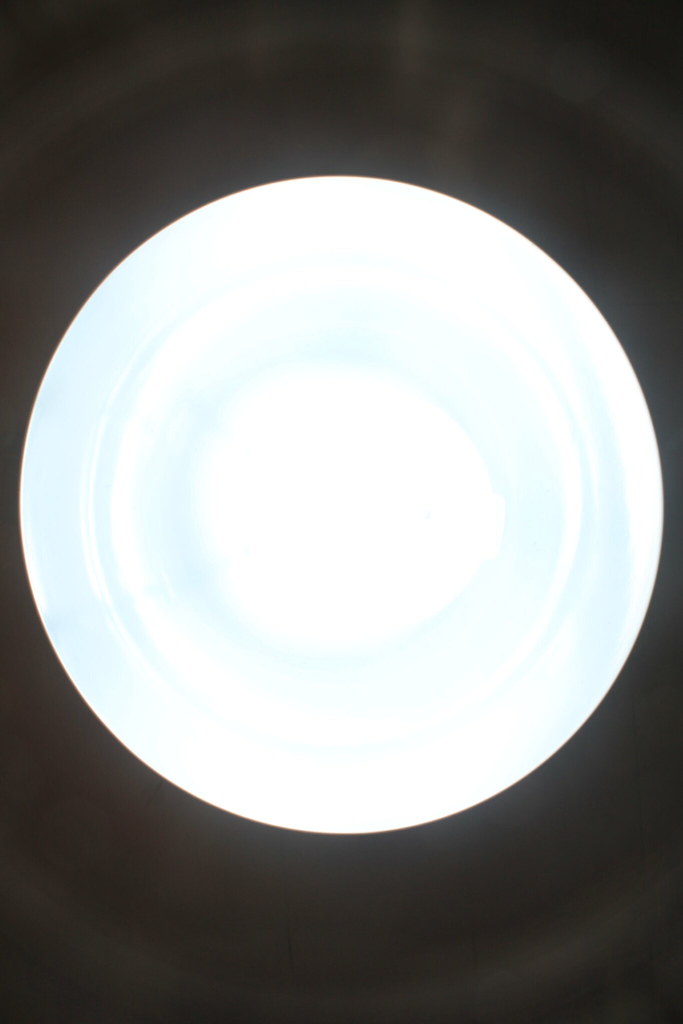
Light is spread very evenly throughout the dish, even near the middle where the flash-head is pointed.
This shot was taken with the flash at 1/32 power and the the camera set at 1/200 sec, f/8 and ISO100, with the beauty dish 1.5 meters from the wall:
This shot was taken with the flash at 1/32 power and the the camera set at 1/200 sec, f/8 and ISO100, with the beauty dish 1.5 meters from the wall:
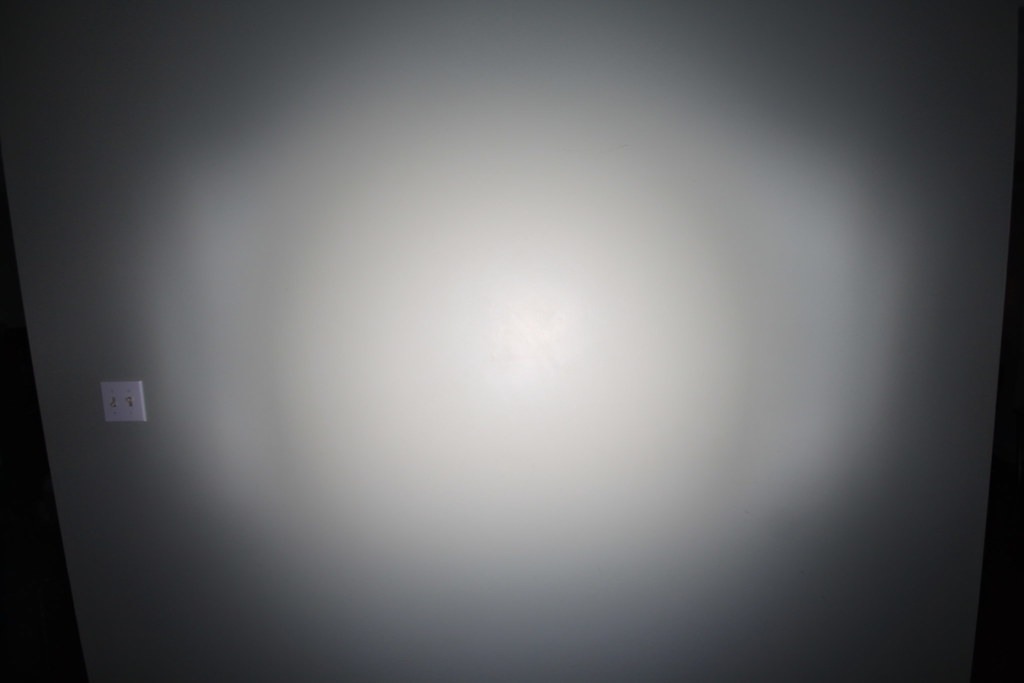
Example of light spread and fall-off with this DIY beauty dish
There you have it! With under $10 and about an hour of your time, you too can have a beauty dish!
No comments:
Post a Comment